Understanding the Basics of Drywall Painting
What is Drywall Painting?
Drywall painting is the process of applying paint to drywall surfaces after installation, allowing homeowners to enhance the aesthetics of their spaces. This task typically follows the completion of the drywall installation and is crucial for protecting the drywall from moisture and damage while also adding color and character to the interior of a home. Many homeowners take on this project themselves, guided by a desire for a personal touch or to save on labor costs. Engaging in drywall painting comes with its own set of techniques and best practices to ensure a high-quality finish.
Common Mistakes in Drywall Painting
Despite being a relatively straightforward task, several common mistakes can compromise the quality of a drywall painting project:
- Skipping Primer: Failing to apply a primer can lead to uneven color and poor adhesion.
- Ignoring Surface Preparation: Not cleaning or adequately preparing the drywall can result in poor finish quality.
- Inappropriate Paint Selection: Using the wrong type of paint for drywall can lead to issues like peeling and chipping.
- Improper Application Techniques: Inadequate rolling and brushing techniques can lead to streaks and an uneven finish.
Tools You Need for Drywall Painting
Having the right tools for the job is essential. Here’s a comprehensive list of tools needed for effective drywall painting:
- Drywall Primer: Essential for an optimal paint finish.
- Paint Rollers and Brushes: For applying paint evenly.
- Paint Tray: Holds the paint and allows for easier application with rollers.
- Sandpaper or a Sander: For smoothing out the drywall surface before painting.
- Drop Cloths: To protect floors and furniture from paint splatters.
- Painter’s Tape: For masking off edges and preventing paint from bleeding onto unwanted areas.
- Extension Pole: Allows you to reach higher areas without a ladder.
Preparing Your Drywall for Painting
Cleaning and Inspecting the Surface
Preparation is key to a successful drywall painting project. Start by thoroughly cleaning the drywall surface with a vacuum or damp cloth to remove dust and debris that may hinder paint adhesion. Additionally, inspect the surface for any imperfections such as holes or dents, which should be patched with a suitable joint compound. Once dried, sand these areas down to ensure a smooth finish.
Choosing the Right Primer for Drywall
Using the right primer is crucial in achieving a professional-looking result. Primers designed specifically for drywall, often a PVA (Polyvinyl Acetate) primer, help seal the drywall and provide an even surface for paint application. This step is particularly critical when working with bare drywall or when transitioning from a darker to a lighter paint color, as it enhances coverage and reduces the number of required paint coats.
Sealing and Mudding Before Painting
Before you even think about painting, it’s essential to seal the seams and joints. Use joint compound to mud the seams between drywall sheets and over any screws or nails. After the compound dries, sand it down until it is flush with the lightweight surface of the drywall. Once this step is complete, you’re ready to prime.
Choosing the Right Paint for Your Drywall
Types of Paint: Latex vs Acrylic
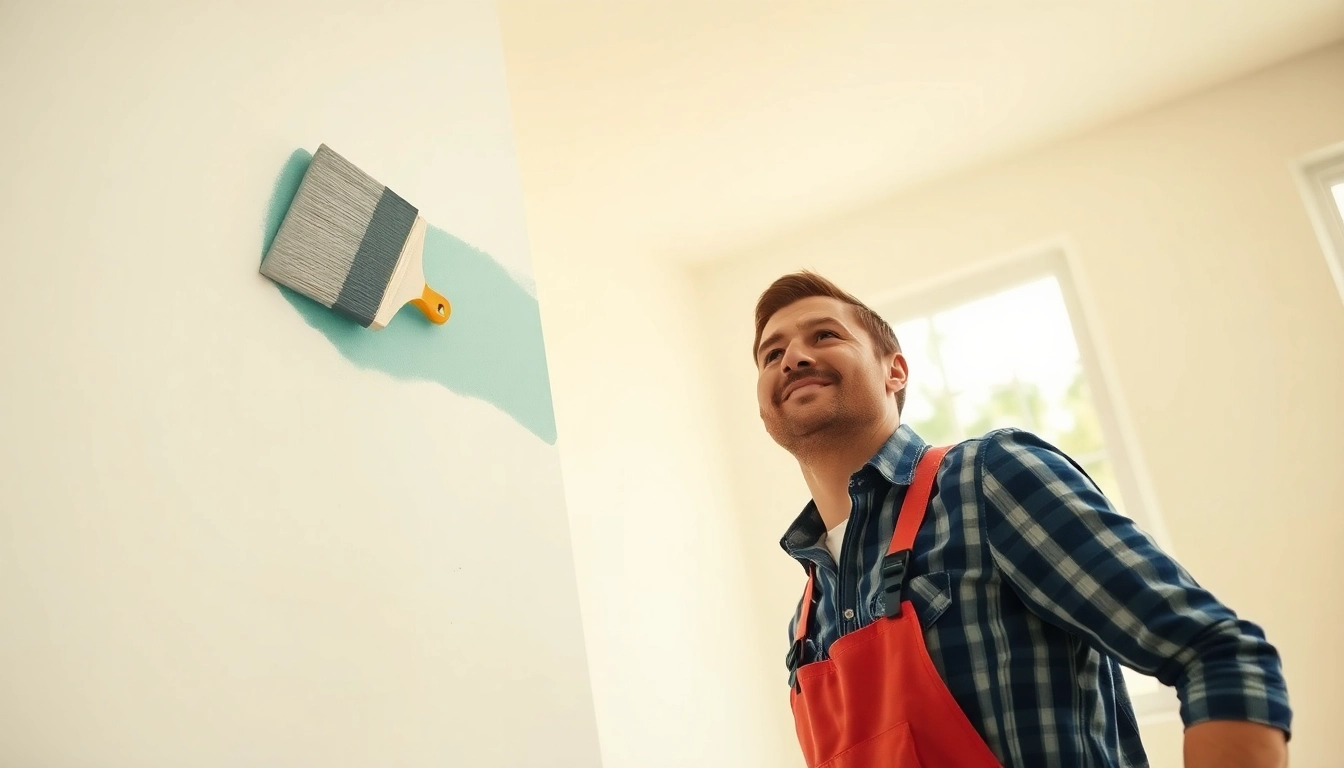
When it comes to drywall painting, the type of paint you choose can greatly affect both the appearance and durability of your finish. Latex paints are water-based, offer easy clean-up, and have low odor, making them a popular choice. Alternatively, acrylic paints provide a durable finish suitable for high-traffic areas and are ideal for homes with children or pets. Consider your specific needs and the environment of the rooms you’re painting when making your selection.
Understanding Sheen Levels for Drywall Painting
The sheen level of paint will influence both the final look and ease of maintenance. Here’s what each sheen level offers:
- Flat: Good for hiding imperfections but can be harder to clean.
- Eggshell: Slightly glossy, easy to clean, and hides imperfections well.
- Satin: Offers a soft sheen and durability, suitable for bathrooms and kitchens.
- Semigloss: Highly durable and moisture-resistant, making it perfect for trim and doors.
- Gloss: Very reflective and the easiest to clean, ideal for areas that experience heavy wear.
Color Choices and Their Effects
The color of paint profoundly affects the mood and perceived size of a room. Lighter colors can make a space feel larger and brighter, while darker tones may create a cozy or dramatic effect. Additionally, consider how colors will interact with your existing furnishings and decor to ensure a harmonious overall effect. It may be beneficial to test paint samples in the actual room to see how they look at different times of the day.
The Painting Process: Step-by-Step Guide
Applying Primer Properly
Applying primer is a definitive first step in the painting process. To do this properly:
- Use a roller to apply primer to larger areas and a brush for edges and corners.
- Be sure to apply an even coat to avoid any patches that may show through the final paint layer.
- Allow the primer to dry completely according to the manufacturer’s instructions.
Techniques for Applying Paint
Once the primer is dry, it’s time to paint. Follow these techniques for the best results:
- Cut In: Start by cutting in around edges and corners with a brush.
- Roll On: Using a roller, apply the paint in long, even strokes, working from top to bottom.
- Work in Sections: Paint one section at a time to ensure that the paint doesn’t dry before blending.
How to Achieve an Even Finish
Achieving an even finish requires patience and technique. Use the “W” or “M” technique while rolling to ensure consistent coverage. Overlap each stroke to blend colors seamlessly and prevent roller marks. After the first coat dries, inspect the finish and apply a second coat if necessary, sanding lightly between coats to ensure smoothness.
Post-Painting Tasks and Maintenance
Cleaning Up After Your Drywall Painting Project
Once you have completed the painting, it’s time to clean up. Carefully remove painter’s tape while the paint is still slightly tacky to prevent peeling. Clean brushes, rollers, and any spills immediately with water (for latex paint) or the appropriate solvent (for oil-based paint).
Inspecting the Finish: What to Look For
After the paint has dried, closely inspect the finish for any imperfections such as missed spots or runs. These can be corrected by light sanding, followed by touch-up painting. Pay special attention to corners and trim, as these areas can easily be overlooked.
Tips for Long-Lasting Durability
To ensure your drywall paint lasts, consider the following tips:
- Choose high-quality paint that offers durability and washability.
- Keep the room ventilated during and after painting to help the paint cure effectively.
- Apply additional coats if necessary for deeper colors and longer-lasting coverage.
- Perform regular maintenance checks, cleaning, and touching up any damaged areas promptly.